

This particular post is about Repurposing what you have. My customer had just sold their large house that was decorated with a more formal traditional feel. Her furniture was big, bulky and for the most part dark wood. She wanted to know how (or even if) her furniture could be used at her new lake house where they are wanting to change their very formal taste into a more casual cottage feel.


I started off by painting a couple of layers of (denim by American Paint Co) paint over the entire piece. I usually like to use a rounded artists brush when I paint legs with shape and detailing, it just seems to get all the "nooks-n-crannies a bit easier.

Meanwhile as I wait on my paint to dry, I measure out a graph on a piece of 3/4" plywood (cut to the exact shape of the top of table) of where my buttons should be I measured approx 5-6 inches apart on this particular piece. I then preceded to pre-drill my holes in preparation for the tufting.

I like to do a quick layout before I start tufting just to step back and get a good visual of how it's going to look, that way if I need to make any adjustments I can at this point. But, I'm liking it so I'm going to just go for it.

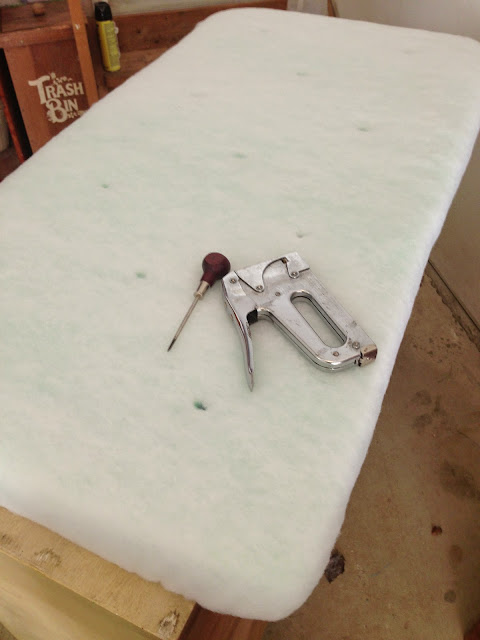
Then measure out the 2inch foam layer. (The easiest method I have found so far to cut thick foam with control is an electric knife). If your table has a unique shape to the top, it's worth it to take a little extra effort and time to make your padding follow that shape rather than just a basic rectangle, that's what gives something a "custom" one of a kind look.

Following the same graph for my holes that I pre-drilled, I just used a "pick all" (carpenters use this tool on hard wood to start holes before they use wood screws) on both the foam and then also on the next layer of lining so that I can easily find my pre-drilled holes as I'm sewing in the buttons.
Make sure the corners of your lining are fastened down very-very smooth and flat, (cut away the excess underneath) this will have an impact on your finished corners and whether they look bulky and uneven or smooth and tailored ...take your time and do it right the first time.

After covering all of your buttons, (we all have seen how covering buttons are done so I'm not including instructions on that) I wanted to share with you how I personally like to upholster a larger piece when I'm doing it alone. Rather than having to turn your fabric board back and forth during the "tufting" process I prefer using the "workhorse" method (or as you see I just used pieces of furniture nearby that are in my shop) so that the piece is held sturdy on each side and I can work on "tufting" the seat from the top and sewing the buttons by pulling down from the open space underneath. The durable thread is then securely stapled in three back and forth positions to ensure a tight hold. Lastly you just simply attach the fabric board to the tabletop by pre drilling holes on the topper and then securing the fabric board with about 6 screws drilling from the underneath of table up into the 3/4" fabric board. Make sure your screws are not too long or they will make for a very uncomfortable seat ;)


No comments:
Post a Comment